Are you tired of store-bought snacks that never quite satisfy? Let’s make homemade granola bars that hit the spot every time! This simple and tasty recipe uses just a few basic ingredients. You’ll find they’re packed with flavor and nutrition. By following my easy steps, you can whip up a batch in no time. Ready to dive in? Let’s gather your ingredients and get started!
Ingredients
Essential Ingredients
To make tasty granola bars, you need a few key items. Here’s what I use:
– 2 cups rolled oats
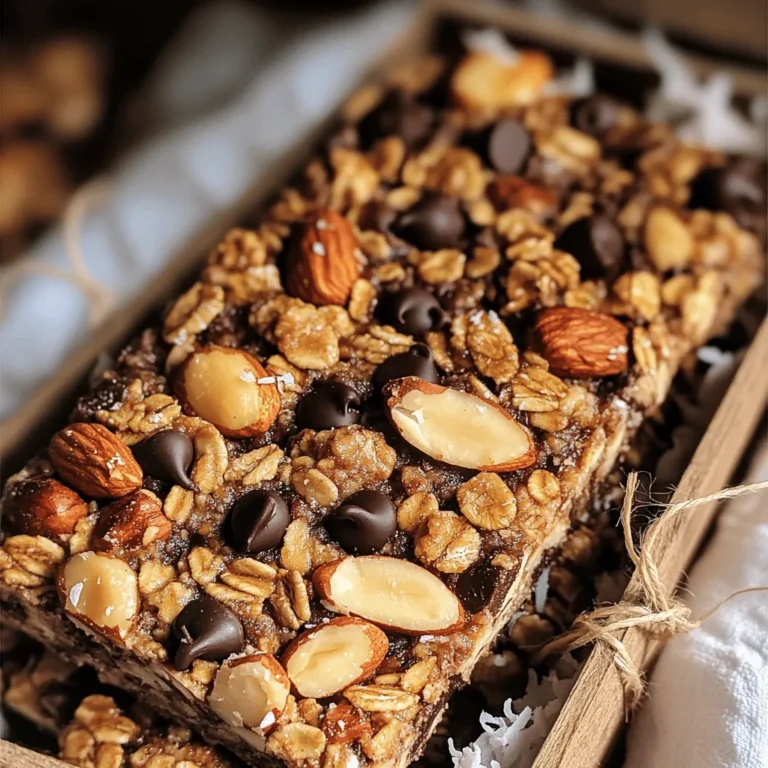
– 1 cup mixed nuts (almonds, walnuts, pecans), coarsely chopped
These rolled oats give a great base. They add fiber and keep you full. The mixed nuts add crunch and healthy fats.
Sweeteners and Binders
Next, we need to bind our bars together. Here are the sweeteners and binders I recommend:
– ½ cup honey or maple syrup
– ½ cup natural peanut butter or almond butter
Honey or maple syrup adds sweetness. The nut butter helps hold everything together. You can mix it up based on your taste.
Flavor Enhancers
Finally, let’s add some fun flavors. These extras really make the bars pop:
– ½ cup dark chocolate chips
– ¼ cup unsweetened coconut flakes
Dark chocolate chips add a rich taste. Coconut flakes give a nice texture. You can even add dried fruits for more flavor if you like.
For the full recipe, you can explore the Nutty Chocolate Bliss Granola Bars.
Step-by-Step Instructions
Prepping the Baking Dish
– Preheat your oven to 350°F (175°C).
– Line an 8×8-inch baking dish with parchment paper. Leave some paper hanging out for easy lifting later.
Mixing Dry Ingredients
– In a large bowl, combine 2 cups of rolled oats, 1 cup of chopped mixed nuts, and ¼ cup of coconut flakes.
– Add in ½ teaspoon of sea salt and ½ teaspoon of ground cinnamon. Mix them well to blend the flavors.
Preparing the Wet Mixture
– In a microwave-safe bowl, combine ½ cup of honey (or maple syrup) and ½ cup of peanut butter.
– Microwave for about 30 seconds. Stir until smooth. Then add 1 teaspoon of pure vanilla extract and mix it all together.
Combining Mixtures
– Pour the wet mixture over the dry ingredients. Mix well to coat everything evenly.
– Gently fold in ½ cup of dark chocolate chips and ¼ cup of dried fruits, if you like, making sure they are spread out.
Baking and Cooling
– Transfer the mixture into the prepared baking dish. Press it down firmly to form an even layer.
– Bake in the oven for 20-25 minutes. Look for golden edges, and make sure the center feels set.
– Let the dish cool for about 10 minutes. Use the hanging parchment paper to lift the granola out. Place it on a cutting board to cool completely.
– Once cool, cut into the desired size bars. You can store them in an airtight container for up to a week or freeze them for later use.
For the full recipe, check the details above.
Tips & Tricks
Achieving the Perfect Texture
To get the best texture in your granola bars, packing the mixture tightly is key. When you press down hard, it helps the bars stick together. If you want chewy bars, bake them for about 20 minutes. For crunchy bars, keep them in the oven for 25 minutes. Watch the edges; they should turn golden brown.
Customization Ideas
You can make these granola bars your own! Add seeds, like chia or flax, for extra crunch. You can also sprinkle in some spices, such as nutmeg or ginger, for extra flavor. If you want to make nut-free bars, swap the nuts for sunflower seeds or pumpkin seeds. This keeps the taste great without allergens.
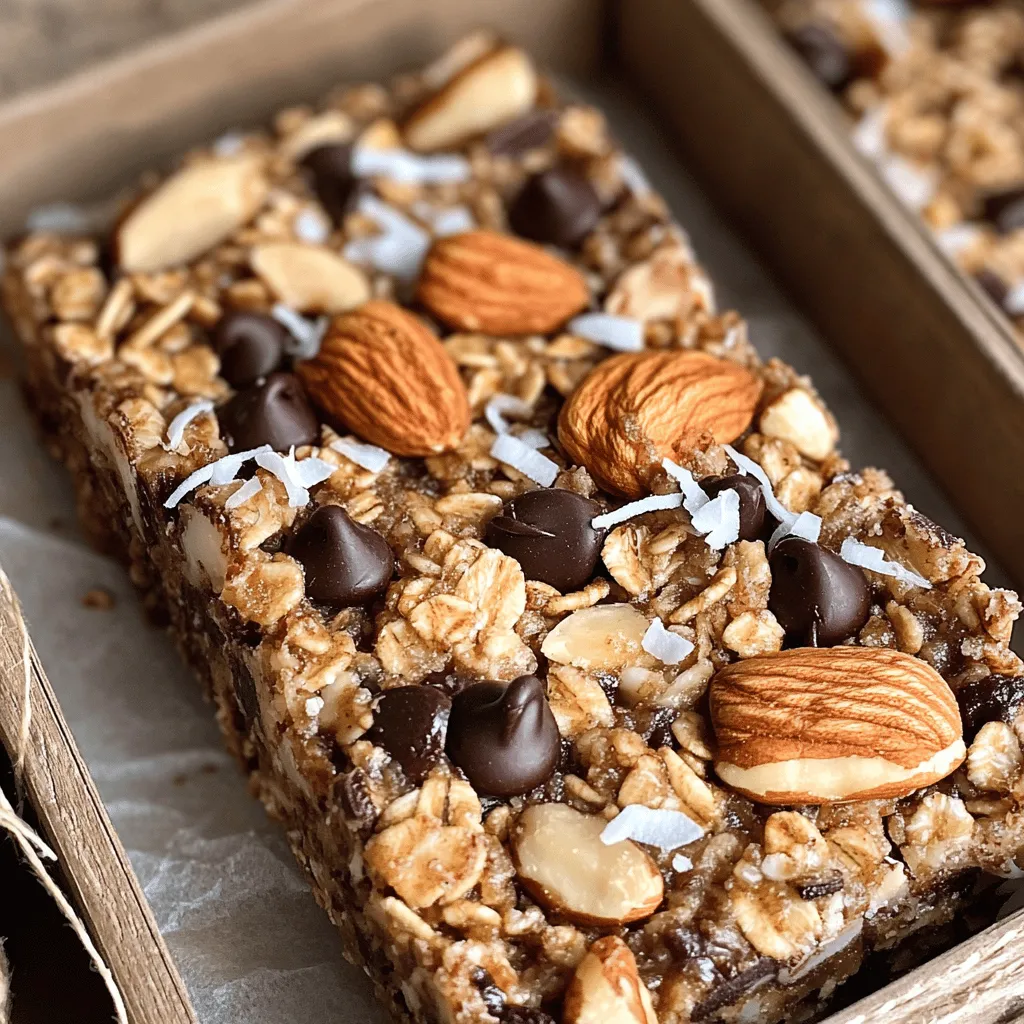
Presentation Tips
How you present your bars can make them more fun! Use vibrant snack boxes to show them off. You can also wrap each bar in parchment paper. Tie it with twine for a cute gift. Adding a tag with the ingredients makes it personal and special. For the full recipe, check the details earlier. Enjoy your tasty creation!
Variations
Flavor Variations
You can change up the flavor of your granola bars easily. Adding different types of chocolate can give new tastes. Try using milk chocolate or white chocolate chips instead of dark chocolate. Each type adds a unique sweetness.
Switching nut butters also helps. You can use cashew butter or sunbutter instead of peanut butter. This change will create a new flavor profile. Plus, it’s fun to experiment with different combinations!
Ingredient Substitutions
Do you want a vegan option? Replace honey with agave syrup. This swap keeps the bars sweet without using animal products.
If you have nut allergies, swap nuts for seeds. Use pumpkin seeds or sunflower seeds instead. This change keeps your bars tasty and safe for everyone to enjoy.
Seasonal Variations
Seasonal ingredients can add fun flavors to your granola bars. For holidays, incorporate dried fruits like cranberries or apricots. These fruits bring a festive touch to your snack.
You can also use seasonal spices. Try adding pumpkin spice in the fall or peppermint in the winter. These spices will make your granola bars feel special for each season.
For the full recipe, check out the Nutty Chocolate Bliss Granola Bars 🥜 recipe.
Storage Info
Storing Granola Bars
To keep your granola bars fresh, use airtight containers. You want to prevent air from getting in. This helps keep them chewy and tasty. Store them at room temperature if you eat them within a week. If you want them to last longer, consider freezing them.
Freezing for Longer Storage
Freezing granola bars is easy. First, cut them into desired sizes. Then, wrap each bar in plastic wrap or foil. Place them in a freezer-safe bag or container. Make sure to label the bag with the date. To thaw, leave them out at room temperature for a few hours. If you want to keep them fresh, avoid using the microwave, as this can make them dry.
Keeping Bars Fresh
Check for spoilage by looking for any off smells or unusual texture. If your bars feel hard and dry, they may be over-baked. To revive them, try wrapping them in a damp paper towel and microwaving for a few seconds. This can help restore some moisture and improve their taste.
For the full recipe, check out the Nutty Chocolate Bliss Granola Bars.
FAQs
How to make granola bars without nuts?
You can use seeds like pumpkin or sunflower seeds. You could also add more oats or use dried fruit. For a nut-free recipe, try this:
– 2 cups rolled oats
– ½ cup sunflower seeds
– ½ cup honey or maple syrup
– ½ cup sunflower seed butter
– ½ cup dark chocolate chips
– ¼ cup unsweetened coconut flakes
Mix the seeds and oats, then follow the steps in the Full Recipe. This keeps the bars tasty and crunchy!
Can I use quick oats instead of rolled oats?
Yes, but the texture will change. Quick oats may make the bars softer. Rolled oats give a chewier bite. Here are the pros and cons:
– Quick Oats Pros: Cooks faster, smoother texture
– Quick Oats Cons: Softer bars, less chew
– Rolled Oats Pros: Chewy texture, holds shape
– Rolled Oats Cons: Takes longer to mix
If you want chewy bars, stick with rolled oats!
How long do homemade granola bars last?
Homemade granola bars last about one week at room temperature. If you store them in the fridge, they can last longer, up to two weeks. Keep them in an airtight container to avoid moisture.
What’s the best way to cut granola bars?
To cut granola bars without crumbling, wait until they cool completely. Use a sharp knife for clean edges. You can also score the bars before they cool. This helps guide your cuts later.
Can I make these granola bars gluten-free?
Yes! Use gluten-free rolled oats. Make sure other ingredients like chocolate and sweeteners are also gluten-free. Adjust the recipe as needed, and enjoy your tasty bars!
You now have a complete guide to making delicious granola bars. We covered essential ingredients like rolled oats and mixed nuts. Then, I shared easy steps for mixing and baking. You learned tips for texture and creativity. Plus, we discussed how to store and customize your bars.
Remember, homemade granola bars are tasty and fun to make. Enjoy experimenting with flavors and share them with friends! Happy snacking!

