Are you ready to enjoy a warm, tasty dish that brings comfort to any meal? These Easy Chicken Enchiladas combine juicy chicken, black beans, and corn in a flavorful sauce. Perfect for busy days or cozy nights, this dish impresses family and friends alike. In this post, I’ll guide you through simple steps to create your own delicious enchiladas, along with tips to make them even better. Let’s get started!
Ingredients
Main Ingredients Needed
– Cooked chicken
– Black beans
– Corn kernels
– Enchilada sauce
For this easy chicken enchiladas recipe, you will need some basic ingredients. Start with cooked chicken. You can use leftover chicken or quickly cook some. Next, add black beans. Make sure they are rinsed and drained. Corn kernels add sweetness and texture. You can use fresh, frozen, or canned corn. Finally, use enchilada sauce. You can buy it at the store or make your own.
Optional Ingredients
– Shredded cheese
– Fresh cilantro
– Sour cream for serving
While the main ingredients make a great dish, optional ingredients can enhance it. Shredded cheese adds richness. I recommend Cheddar or Monterey Jack. Fresh cilantro gives a bright flavor. You can sprinkle it on top before serving. Lastly, sour cream adds creaminess. Serve it on the side for those who want it.
Equipment Required
– Mixing bowl
– Baking dish
– Aluminum foil
You will need some simple tools to make this dish. A mixing bowl helps combine the filling. Use a baking dish to hold your enchiladas while they bake. Finally, aluminum foil keeps them covered in the oven. This ensures even cooking and helps the cheese melt perfectly. For the full recipe, check out the details above.
Step-by-Step Instructions
Prepping the Oven and Ingredients
First, preheat your oven to 375°F (190°C). This step warms the oven for perfect cooking. While it heats, prepare your ingredients.
Gather the following items:
– 2 cups cooked chicken, shredded
– 1 cup black beans, rinsed and drained
– 1 cup corn kernels
– 1 teaspoon ground cumin
– 1 teaspoon chili powder
– ½ teaspoon garlic powder
– 8 small flour tortillas
– 2 cups enchilada sauce
– 1 cup shredded cheese
– ¼ cup fresh cilantro, chopped
Making the Filling
In a large bowl, mix the shredded chicken, black beans, corn, cumin, chili powder, and garlic powder. Stir well until all ingredients blend together. This filling is the heart of your enchiladas. It packs flavor and protein into each bite.
Assembling and Baking
Now it’s time to fill your tortillas. Take one tortilla and lay it flat. Spoon about ½ cup of the chicken mixture in the center. Roll the tortilla tightly around the filling. Make sure to seal the ends well. Place it seam-side down in a 9×13 inch baking dish. Repeat this for all tortillas.
Next, pour the remaining enchilada sauce evenly over the rolled tortillas. Sprinkle the shredded cheese on top. This layer of cheese melts beautifully during baking.
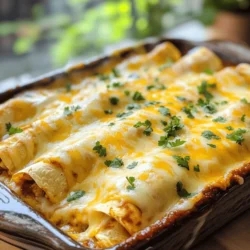
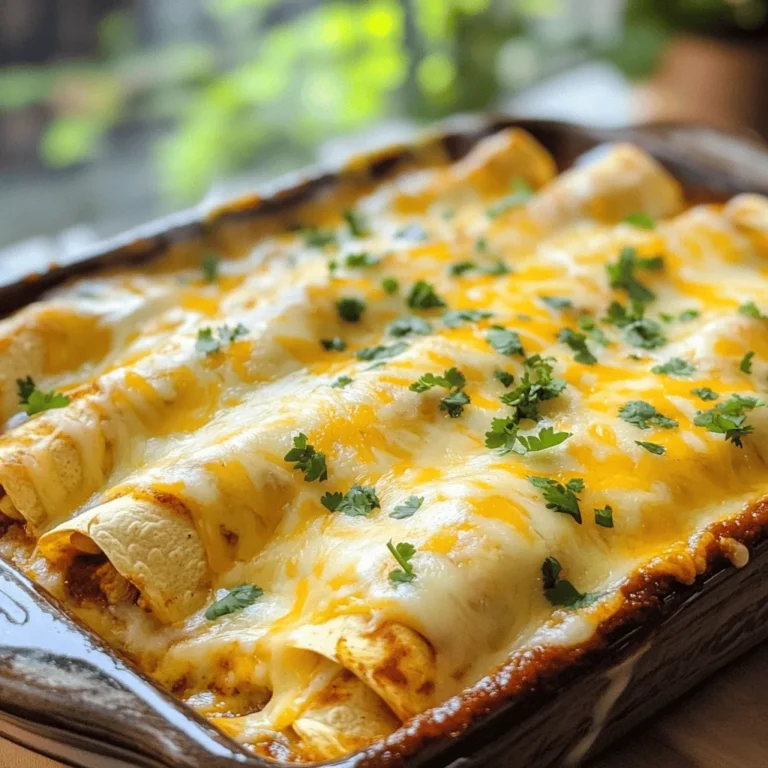
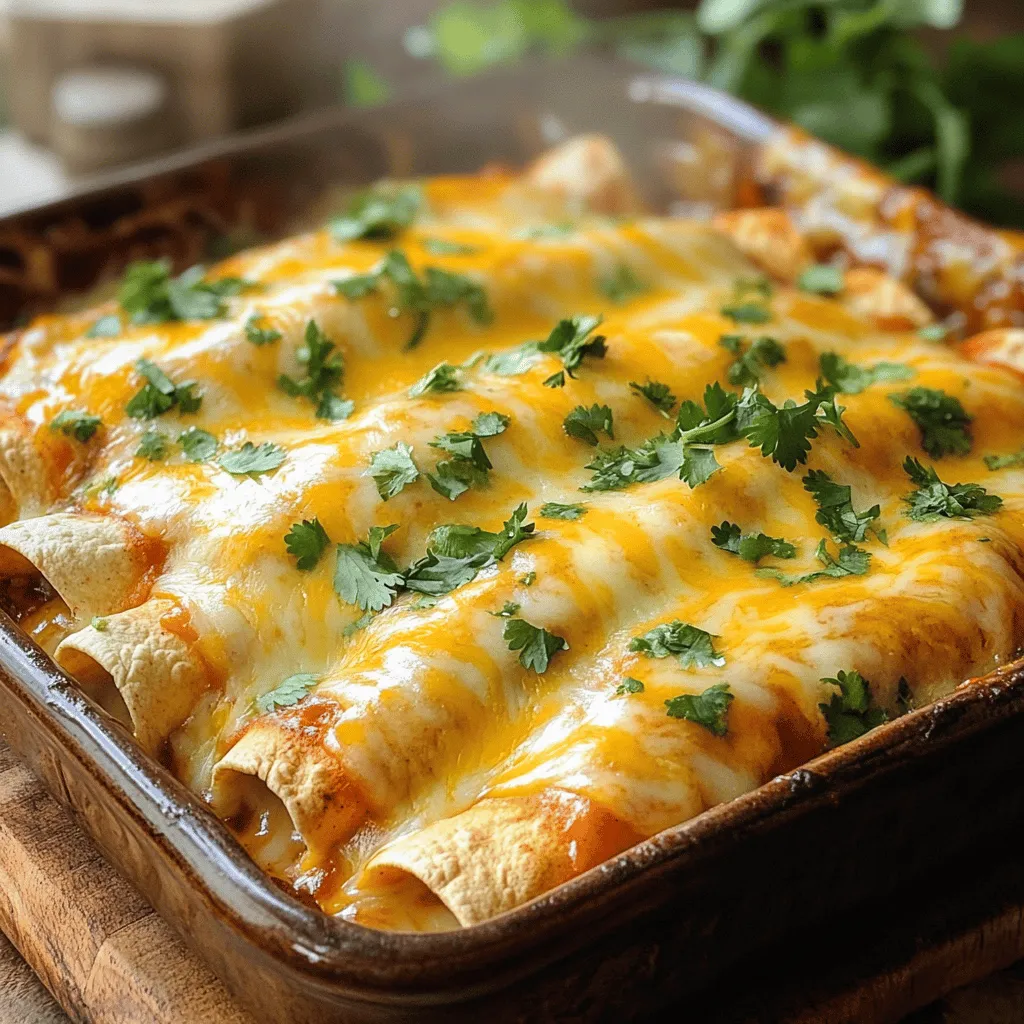
Cover the dish with aluminum foil. Place it in the preheated oven to bake for 20 minutes. After this, carefully remove the foil and bake for an additional 10 minutes. The cheese should be bubbly and golden.
After baking, let the dish cool for a few minutes. Garnish with fresh cilantro for a tasty finish. Serve warm and enjoy your delicious chicken enchiladas! For the complete process, check the Full Recipe.
Tips & Tricks
Perfecting the Enchiladas
To make great enchiladas, start by ensuring even filling distribution. Use a measuring cup to scoop the filling. Aim for about half a cup per tortilla. This way, each bite has a good mix of flavors.
When rolling tortillas, keep them warm. This helps them stay soft and flexible. If they cool, they may crack. Place your tortilla on a flat surface and add the filling in the center. Roll it tightly, tucking in the ends as you go. This keeps everything inside.
Enhancing Flavor
You can adjust the spice levels to fit your taste. If you like heat, add more chili powder or some diced jalapeños. For milder enchiladas, reduce the spices a bit.
Using homemade sauce can boost flavor. You can control the heat and ingredients. However, store-bought sauces save time and still taste great. Choose one with good reviews for the best results.
Presentation Ideas
For serving, you can keep enchiladas in the baking dish. It looks homey and inviting. If you want to impress guests, use a colorful platter. Drizzle extra sauce over the top for a nice touch.
Garnishing adds appeal. A sprinkle of fresh cilantro brightens the dish. You can also add a dollop of sour cream for creaminess. These small details can elevate your enchiladas to a new level. Enjoy your meal!
Variations
Dietary Modifications
If you want a vegetarian option, swap the chicken for beans or lentils. You can mix in sautéed spinach or mushrooms for more flavor. Use gluten-free tortillas to make this dish safe for those with gluten sensitivities. Many brands offer great-tasting gluten-free tortillas that hold up well.
Flavor Combinations
When it comes to cheese, you have options! Try using a blend of Cheddar and Monterey Jack for a creamy texture. You can also use pepper jack for a spicy kick. For added crunch, toss in diced bell peppers or zucchini into your filling. These veggies not only add texture but also boost the dish’s nutrition.
Saucier Styles
The choice between red and green enchilada sauce can change the dish’s flavor. Red sauce gives a rich and bold taste, while green sauce offers a tangy zest. You can also add toppings like sour cream or guacamole for creaminess. These additions enhance the flavors and make each bite more enjoyable. For the full recipe, check back on the earlier sections!
Storage Info
Best Storage Practices
After you make your easy chicken enchiladas, store any leftovers properly. To refrigerate, place the enchiladas in an airtight container. They will stay fresh for about four days. You can also freeze them for longer storage. For freezing, wrap the enchiladas tightly in plastic wrap and then place them in a freezer-safe bag. This helps prevent freezer burn.
Reheating Instructions
When it’s time to enjoy your leftover enchiladas, you want them warm and tasty. The best method for reheating is to use an oven. Preheat your oven to 350°F (175°C). Place the enchiladas in a baking dish and cover them with foil to keep them moist. Heat for about 20 minutes or until they are hot throughout. You can also use a microwave, but they may lose some texture.
Shelf Life
You can keep refrigerated chicken enchiladas for up to four days. If you freeze them, they can last for about three months. Check for signs of spoilage before eating. If you see any mold or if they smell off, it is best to throw them away. Enjoying your enchiladas fresh will always taste best.
FAQs
What can I substitute for chicken?
You can use many options instead of chicken. Some great alternatives are:
– Ground turkey or beef
– Shredded pork
– Tofu or tempeh
– Black beans or lentils
These choices keep the dish tasty and fun. You can mix and match proteins to suit your taste. Try different spices to enhance the flavors!
Can I make enchiladas in advance?
Yes, you can make enchiladas ahead of time. Here are some tips:
– Prepare the filling and assemble the enchiladas.
– Cover them tightly with foil and store in the fridge for up to 24 hours.
– Bake them right before serving. Just add a few extra minutes to the baking time.
This method saves time and lets you enjoy more moments with family and friends.
What side dishes pair well with enchiladas?
Enchiladas are great with many side dishes. Here are some tasty ideas:
– Spanish rice or cilantro lime rice
– Refried beans or black bean salad
– Fresh guacamole or salsa
– A simple green salad with lime dressing
These sides add color and flavor to your meal. They balance the richness of the enchiladas while keeping it fun and fresh. Enjoy the full recipe to make your meal complete!
In this blog post, we explored how to make delicious enchiladas. We covered essential ingredients like chicken, beans, and enchilada sauce. I also shared tips for perfecting your filling and enhancing flavors. You learned about dietary options, storage practices, and serving ideas.
Remember, making enchiladas can be fun and rewarding. You can personalize them to fit your taste. Enjoy your cooking adventure, and don’t hesitate to try new flavors and styles!