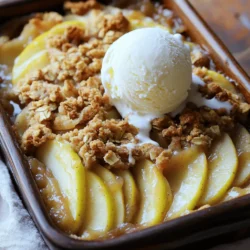
Ready for a dessert that warms your heart? This Classic Apple Crisp recipe brings together fresh apples, a sweet topping, and a hint of spice. With just a few ingredients, you can create a treat that’s perfect for any occasion. Whether you enjoy it with vanilla ice cream or a dusting of cinnamon, this recipe delivers a cozy flavor everyone loves. Let’s dive into making this delightful dessert together!
Ingredients
Essential Ingredients
– 6 medium apples (preferably Granny Smith or Honeycrisp)
– 1 tablespoon fresh lemon juice
– 1 cup rolled oats
– 1 cup all-purpose flour
– 1 cup packed light brown sugar
Optional Add-Ins
– 1/2 cup walnuts or pecans
– 1 teaspoon ground cinnamon
– 1/2 teaspoon ground nutmeg
– A pinch of salt
Gathering the right ingredients is key for a great apple crisp. Start with apples. I love using Granny Smith or Honeycrisp. They give the dish a nice balance of sweet and tart. The lemon juice brightens the flavor and keeps apples fresh.
Next, you need rolled oats, flour, and brown sugar. These form the base of the crispy topping. Oats add texture, while brown sugar gives it a deep sweetness.
You can also add walnuts or pecans for extra crunch. A sprinkle of cinnamon and nutmeg boosts the warm, cozy flavor. Just a pinch of salt balances everything out.
With these ingredients, you can create a classic dessert that everyone loves. Don’t forget to check the Full Recipe for all the steps!
Step-by-Step Instructions
Preparation Steps
– Preheat the oven to 350°F (175°C).
– Slice the apples and mix with lemon juice.
– In a bowl, whisk oats, flour, sugar, cinnamon, nutmeg, and salt.
Creating the Topping
– Combine the dry mix with softened butter until crumbly.
– Fold in chopped nuts for extra crunch, if you like.
Assembling and Baking
– Grease a 9×13 inch baking dish with butter.
– Layer the apple mixture evenly in the dish.
– Sprinkle the topping over the apples. Cover them well.
– Bake for 40-45 minutes until the topping is golden brown.
Enjoy the smell of warm apples and spices filling your kitchen!
Tips & Tricks
Making the Best Apple Crisp
To make the best apple crisp, the right apples matter. I love using Granny Smith or Honeycrisp. They bring a great balance of sweet and tart. Another key tip is to use cold butter. This helps create a crisper topping. When you mix it with dry ingredients, the cold butter forms nice clumps.
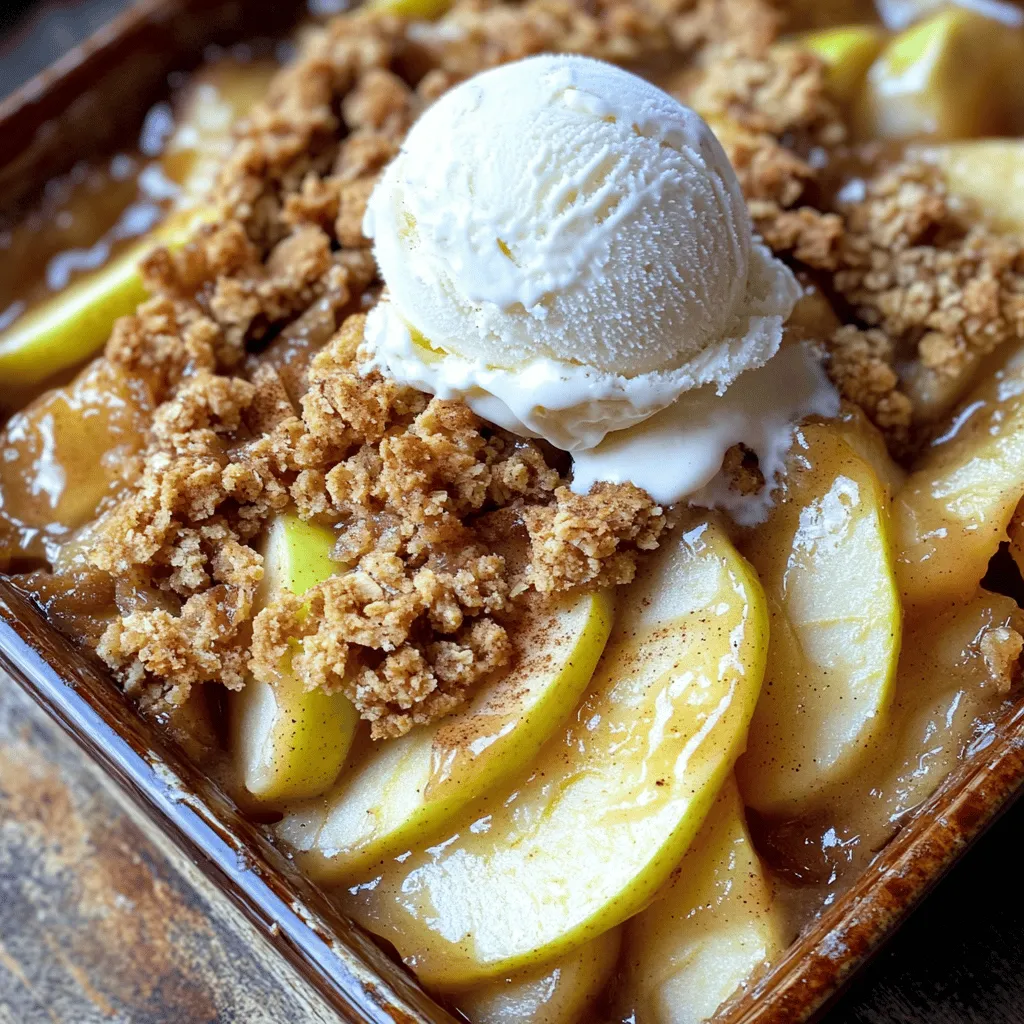
Serving Suggestions
Serving your apple crisp warm is a must. Pair it with a scoop of vanilla ice cream. The cold ice cream melts slightly and makes the dish even better. I also like to lightly dust the top with extra cinnamon. It adds a nice touch that enhances the flavor.
Enhancing Flavor
To boost the flavor, add a splash of vanilla extract to the apples. This small step makes a big difference in taste. You can also try adding spices like cloves or cardamom. These spices add warmth and depth to your dish. Don’t be afraid to experiment!
Variations
When you make apple crisp, you can try many fun twists. Here are some easy ideas to change it up.
Healthier Options
– Substitute half of the sugar with honey or maple syrup. This makes it sweeter and healthier.
– Use almond flour instead of all-purpose flour. This adds a nutty taste and is gluten-free.
Seasonal Twists
– Incorporate pears or berries for a mixed fruit crisp. This adds flavor and color to your dish.
– Add citrus zest for a fresh flavor. Lemon or orange zest gives a bright taste that is lovely.
Different Toppings
– Use granola or crushed cookies for a unique crunch. This adds a fun texture to each bite.
– Experiment with nut butters in the topping mix. Peanut or almond butter can add great flavor and richness.
Storage Info
Storing Leftovers
After enjoying your apple crisp, store any leftovers covered in an airtight container. This simple step keeps the crisp fresh and tasty. You can safely store it in the refrigerator for up to three days.
Freezing Apple Crisp
Want to save some for later? You can freeze the unbaked apple crisp. Just prepare it as directed, but don’t bake it. Wrap it well in plastic wrap and foil. When you’re ready to enjoy it, bake it straight from the freezer. Keep in mind, you may need to add some extra time to the baking process.
Reheating Tips
To bring back that warm, crispy texture, reheating in the oven works best. Set your oven to 350°F (175°C) and heat until warm. If you’re short on time, use the microwave for quick warming. Just be aware that the topping may not be as crisp.
FAQs
How do I prevent the apples from browning?
Using lemon juice is effective for preventing browning. Just squeeze a bit over the sliced apples. It works well because the acid slows down the oxidation process. I always use fresh lemon juice for the best flavor. It keeps the apples looking fresh and tasty.
Can I make this recipe gluten-free?
Yes, substitute the all-purpose flour with a gluten-free flour blend. Many brands offer great options that work well in baking. Just check the label to ensure it fits your needs. I often use a blend with rice flour and almond flour for better results.
What types of apples are best for apple crisp?
Granny Smith and Honeycrisp are ideal for a perfect balance of tartness and sweetness. Granny Smith gives a nice tang, while Honeycrisp adds natural sugar. Mixing different apple types can also add depth to the flavor. Try to use fresh, firm apples for the best texture.
How do I know when my apple crisp is done?
Look for bubbling around the edges and a golden brown topping. The apples should be soft but not mushy. If the topping is golden and crisp, it’s ready to serve. Trust your senses; the smell will also tell you it’s done!
Can I make it ahead of time?
Yes, you can prepare the apple and topping layers separately and combine them before baking. This method saves time on busy days. You can store the apple mixture in the fridge. Just remember to add the topping right before you bake.
Where can I find the full recipe?
Refer to the Full Recipe for complete details on preparing this delicious Classic Apple Crisp.
In this post, we explored the key ingredients and steps for making a classic apple crisp. You learned how to pick the right apples and enhance your dish with optional spices. We also shared tips for storage, freezing, and serving.
Apple crisp is simple yet satisfying, with endless ways to make it your own. Remember, the best desserts come from using quality ingredients and having fun in the kitchen. Now, get ready to enjoy a warm, homemade apple crisp.