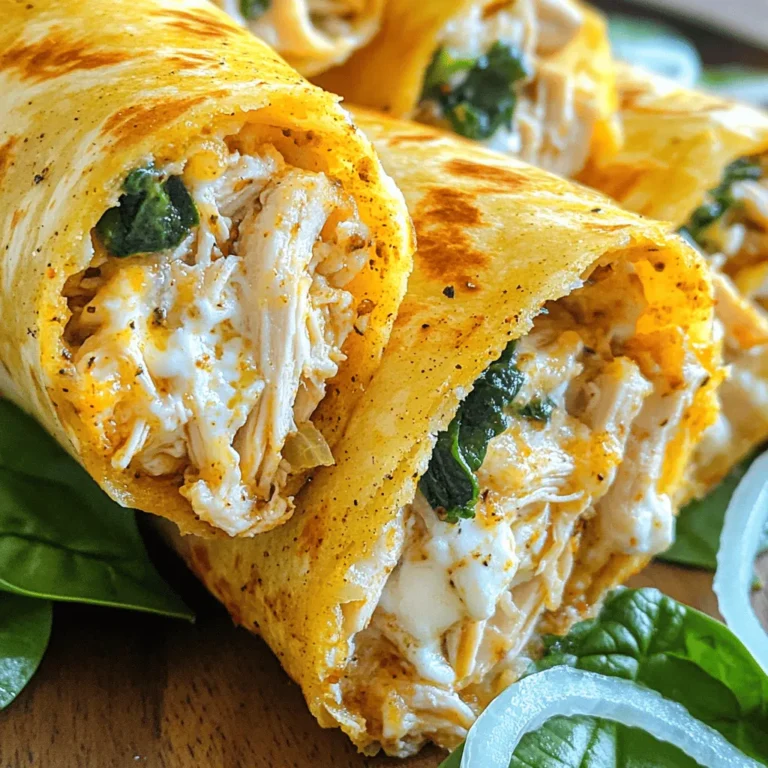
If you crave a quick meal that’s bursting with flavor, you’re in the right place! Cheesy Garlic Chicken Wraps combine tender chicken, creamy cheese, and zesty garlic, all wrapped in soft tortillas. Best of all, they’re simple to make in under 30 minutes. Whether you’re feeding your family or hosting friends, these wraps are sure to delight. Dive into this easy recipe and impress your taste buds today!
Ingredients
List of Ingredients
– 2 large cooked chicken breasts, shredded
– 1 cup shredded mozzarella cheese
– 1 cup cream cheese, softened
– 2 cloves garlic, minced
– 1 teaspoon Italian seasoning
– 1 tablespoon olive oil
– 4 large flour tortillas
– 1 cup fresh spinach leaves
– Salt and pepper, to taste
– Optional: Sliced green onions for garnish
When making cheesy garlic chicken wraps, I focus on using fresh ingredients. The chicken should be cooked and shredded into small pieces. I like to use large tortillas to hold all the tasty filling.
For the cheese, I use mozzarella. It melts well and adds a rich flavor. Cream cheese makes the filling creamy and smooth. The garlic gives the wraps a punch of flavor. You can adjust how much garlic you use based on your taste.
Italian seasoning brings warmth and depth. A touch of olive oil keeps everything moist and adds richness. Fresh spinach leaves add a nice crunch and color. Salt and pepper bring everything together.
If you want to make these wraps even better, I suggest adding sliced green onions on top. They give a fresh burst of flavor and a lovely finish. Follow the full recipe for the best results.
Step-by-Step Instructions
Preparation and Mixing
To start, grab a medium mixing bowl. In this bowl, combine the following ingredients:
– 2 large cooked chicken breasts, shredded
– 1 cup shredded mozzarella cheese
– 1 cup cream cheese, softened
– 2 cloves garlic, minced
– 1 teaspoon Italian seasoning
– 1 tablespoon olive oil
– Salt and pepper, to taste
Mixing these ingredients well is key. Use a sturdy spatula or fork. Press down as you stir. This helps blend all the flavors. You want every bite to be cheesy and garlicky. Take your time to ensure everything is even.
Assembling the Wraps
Now, it’s time to assemble your wraps. Lay out four large flour tortillas on a clean surface. Next, take your cheesy chicken mixture and distribute it evenly in the center of each tortilla. Leave space at the edges to fold.
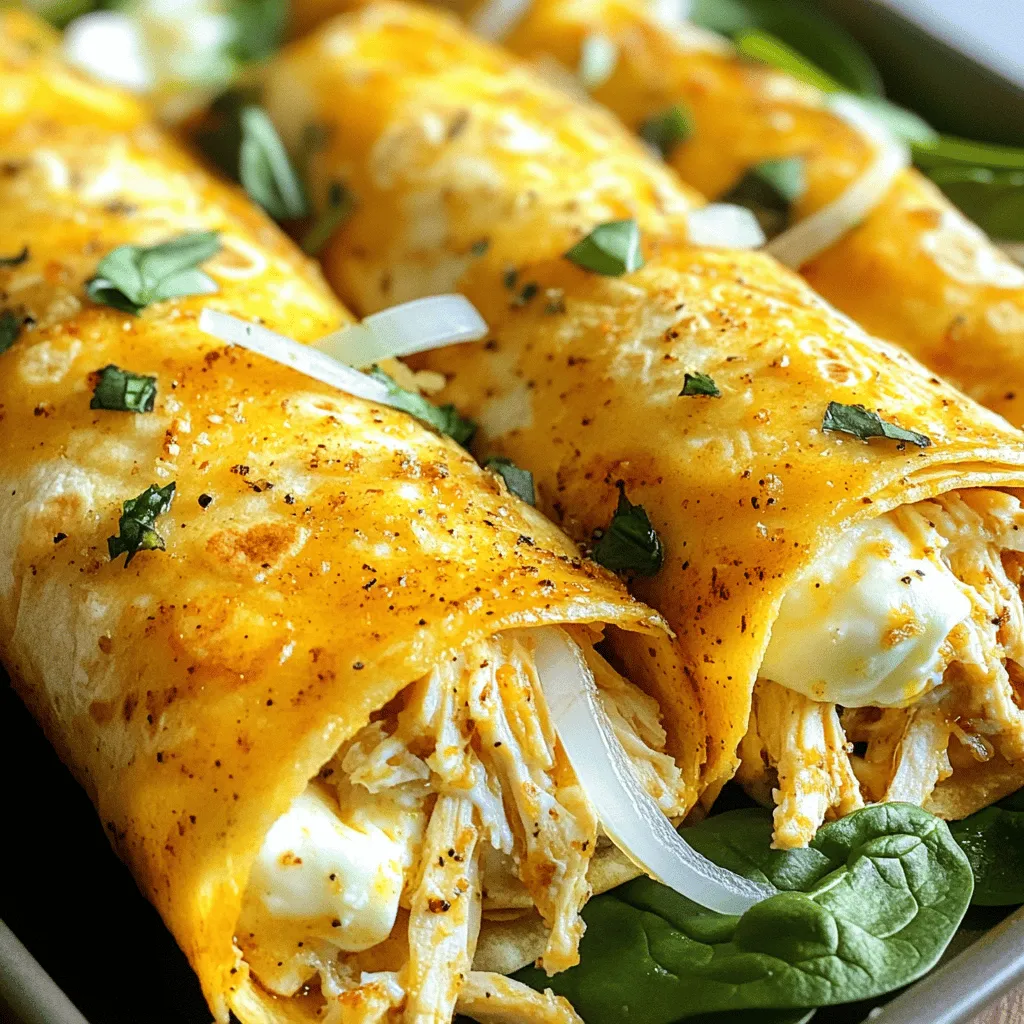
On top of the chicken mix, add a handful of fresh spinach leaves. This adds color and crunch. To wrap, fold the sides of each tortilla inward first. Then, start at the bottom and roll tightly upward. This keeps all the tasty filling inside.
Cooking the Wraps
For the next step, preheat your skillet over medium heat. Once hot, carefully place the wraps seam-side down. Cook them for about 3-4 minutes, or until they are golden brown. You’ll see the cheese start to melt.
After 3-4 minutes, flip each wrap. Cook the other side for the same time. You want both sides crispy and golden. Once done, take them out of the skillet. Let them cool for a couple of minutes. Then, slice diagonally into halves or thirds.
For a special touch, you can sprinkle sliced green onions over the warm wraps before serving. Check out the Full Recipe for more details!
Tips & Tricks
Enhancing Flavor and Texture
To boost the flavor of your Cheesy Garlic Chicken Wraps, consider adding a few spices. A pinch of paprika can add warmth, while a dash of cayenne brings heat. You can also try adding a squeeze of lemon juice for a fresh twist.
To achieve the perfect wrap texture, use large tortillas. They hold more filling and prevent tearing. Warm the tortillas slightly before filling them; this keeps them soft and easy to roll.
Cooking Methods
If you want to switch it up, try baking your wraps. Preheat your oven to 375°F (190°C). Place the wraps seam-side down on a baking sheet. Bake for 15-20 minutes until golden. This method gives a nice, crunchy finish without the need for much oil.
You can also grill the wraps. Preheat your grill and place the wraps on it for about 2-3 minutes per side. This adds a lovely char and smokiness to the wraps. Adjust your cooking time based on the method you choose.
Serving Suggestions
Pair your wraps with sides like a fresh salad or crispy fries. A light coleslaw adds crunch and balances the creamy filling.
For dipping sauces, try ranch dressing or a zesty salsa. You can also whip up a quick garlic aioli by mixing mayonnaise with minced garlic and lemon juice. Enjoy these wraps with fun sides and dips for a complete meal. For the full recipe, see above.
Variations
Ingredient Substitutions
You can change some ingredients in Cheesy Garlic Chicken Wraps. If you want a lighter option, swap cream cheese for Greek yogurt. It gives a nice tang and cuts calories. Instead of mozzarella, try cheddar cheese or feta for a different taste.
If you don’t have chicken, turkey works well too. You can even use tofu for a vegetarian version. Just make sure to press the tofu to remove extra moisture. This helps it absorb flavors better.
Flavor Variations
To change up the taste, add spices to the mix. A bit of paprika gives a smoky flavor. If you like heat, try cayenne pepper or chili powder. You can also use fresh herbs like basil or cilantro for a fresh twist.
Adding different vegetables can also change the flavor. Bell peppers, mushrooms, or even zucchini add great texture. Just sauté them lightly to bring out their taste before mixing them in.
Dietary Considerations
If you need gluten-free options, look for gluten-free tortillas. They are available in many stores. You can also use lettuce wraps for a low-carb choice.
For low-calorie wraps, use less cheese or swap in lower-fat cheese. You can also cut down on the cream cheese. These small changes keep the dish tasty while being healthier.
Storage Info
How to Store Leftover Wraps
To keep your cheesy garlic chicken wraps fresh, store them in the fridge. Use a tight container to prevent air from getting in. Wrap each wrap in plastic wrap or foil before placing them in the container. This helps maintain their flavor and texture.
Freezing Instructions
If you want to freeze your wraps, follow these steps:
1. Cool: Allow the wraps to cool completely at room temperature.
2. Wrap: Wrap each one tightly in plastic wrap.
3. Bag: Place the wrapped wraps in a freezer bag. Remove as much air as possible before sealing.
This method keeps them safe in the freezer for up to three months.
To thaw, take them out of the freezer and put them in the fridge overnight. For reheating, use a skillet over medium heat for about 3-4 minutes per side, until they are warm and crispy.
Shelf Life of Cheesy Garlic Chicken Wraps
These tasty wraps last in the fridge for about 3 days. Make sure to check for any signs that they have gone bad. If they smell sour or have a strange color, it’s best to toss them. Always trust your senses when it comes to food safety. Enjoy the full recipe for more details!
FAQs
Common Questions about Cheesy Garlic Chicken Wraps
How to make Cheesy Garlic Chicken Wraps from scratch?
To make these wraps, start by mixing cooked chicken, mozzarella cheese, cream cheese, garlic, and seasoning in a bowl. Spread this mix on tortillas and add fresh spinach. Then, roll them up tightly and cook in a skillet until golden. You can find the Full Recipe above for detailed steps.
What can I substitute for chicken in this recipe?
If you want to skip chicken, try shredded turkey or cooked tofu. Both options work well and keep the dish tasty. You can also use beans for a vegetarian twist.
Can I prepare these wraps ahead of time?
Yes! You can make the filling a day in advance. Just keep it in the fridge. When ready, assemble the wraps and cook them fresh. This saves time on busy days.
What are the best accompaniments for this dish?
Serve these wraps with a side salad or some crunchy veggies. Dipping sauces like ranch or salsa add extra flavor. You can also enjoy them with chips for a fun crunch.
How can I make these wraps spicier?
To add heat, mix in some red pepper flakes or diced jalapeños into the filling. You can also serve them with hot sauce on the side. Adjust the spice level to fit your taste!
This blog post covered a simple and tasty recipe for Cheesy Garlic Chicken Wraps. You learned about the key ingredients, step-by-step instructions, and handy tips. We explored variations and storage methods to keep your wraps fresh.
In conclusion, making these wraps is fun and easy. You can customize them to fit your taste. Enjoy the process and share them with friends. Happy cooking!

