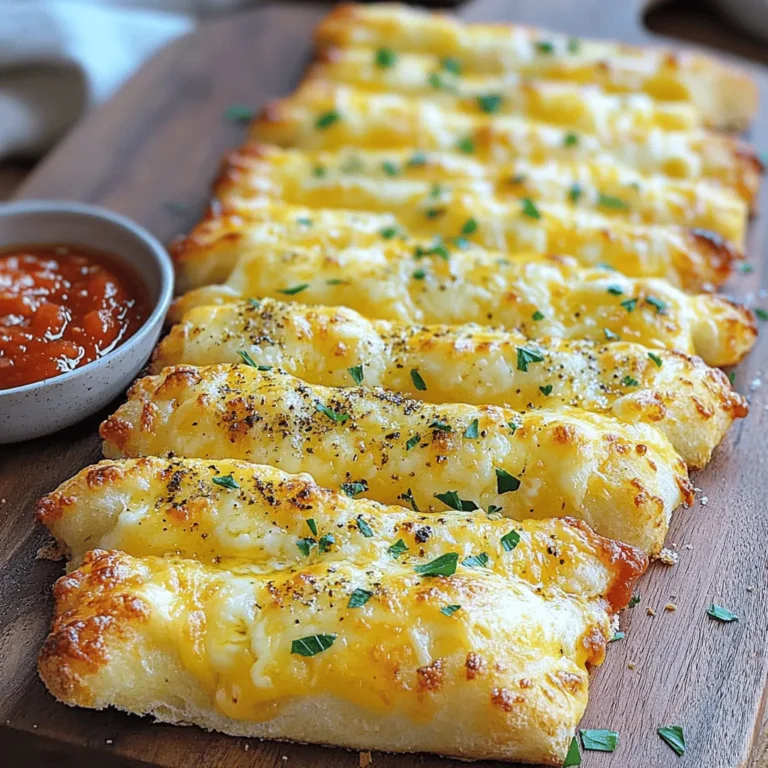
Are you ready to elevate your snack game? These Cheesy Garlic Breadsticks are simple, tasty, and perfect for any occasion. With just a few everyday ingredients, you can whip up a batch that’s ooey-gooey and bursting with flavor. Whether you’re enjoying movie night or hosting a party, this recipe will impress everyone. Let’s dive into the delicious world of cheesy goodness!
Ingredients
List of Ingredients
– 2 cups all-purpose flour
– 1 tablespoon instant yeast
– 1 teaspoon sugar
– 1 teaspoon salt
– ¾ cup warm water (about 110°F/43°C)
– 2 tablespoons olive oil
– 3 cloves garlic, finely minced
– 1 cup shredded mozzarella cheese
– ½ cup grated Parmesan cheese
– 2 tablespoons fresh parsley, chopped
– 1 teaspoon Italian seasoning
– ¼ teaspoon red pepper flakes (optional)
Great garlic breadsticks start with fresh, simple ingredients. Each plays a key role in flavor and texture.
First, all-purpose flour gives the bread a nice structure. Instant yeast helps it rise quickly. Sugar adds just a hint of sweetness. Salt brings out all the flavors.
Warm water activates the yeast, making it bubbly. Olive oil adds moisture and richness. Garlic gives that classic taste we love. Mozzarella and Parmesan cheese melt beautifully for that gooey texture.
Fresh parsley adds color and a fresh bite. Italian seasoning brings a mix of herbs for depth. Red pepper flakes can kick up the heat, but they are optional.
Gather these ingredients for a fun cooking adventure. You will find the full recipe at the end for easy reference.
Recommended Tools
– Mixing bowls
– Baking sheet
– Rolling pin
– Parchment paper
Having the right tools makes cooking easier. Mixing bowls are great for combining ingredients. A baking sheet is key for even cooking. A rolling pin helps shape the dough perfectly. Parchment paper keeps things clean and helps with sticking.
Cooking Time and Servings
– Prep Time: 10 min
– Cook Time: 20 min
– Total Time: 50 min
– Servings: 12
This recipe fits into a busy day. With just 10 minutes to prep, you can have warm, cheesy breadsticks in less than an hour. Perfect for sharing with family or friends!
Step-by-Step Instructions
Preparing the Dough
To start, grab a large mixing bowl. Combine 2 cups of all-purpose flour, 1 tablespoon of instant yeast, 1 teaspoon of sugar, and 1 teaspoon of salt. Stir well until everything is mixed. In a separate bowl, mix ¾ cup of warm water and 2 tablespoons of olive oil. This should be warm, about 110°F (43°C). Gradually add this liquid mixture to the dry ingredients while stirring. Keep mixing until a dough starts to form.
Kneading and Rising
Next, transfer the dough to a floured surface. Knead the dough with your hands for 5-7 minutes. You want it to be smooth and elastic. Take a bowl and lightly grease it with olive oil. Place the kneaded dough inside and turn it to coat. Cover the bowl with a damp cloth. Allow the dough to rise in a warm spot for about 30 minutes, or until it doubles in size.
Shaping and Baking
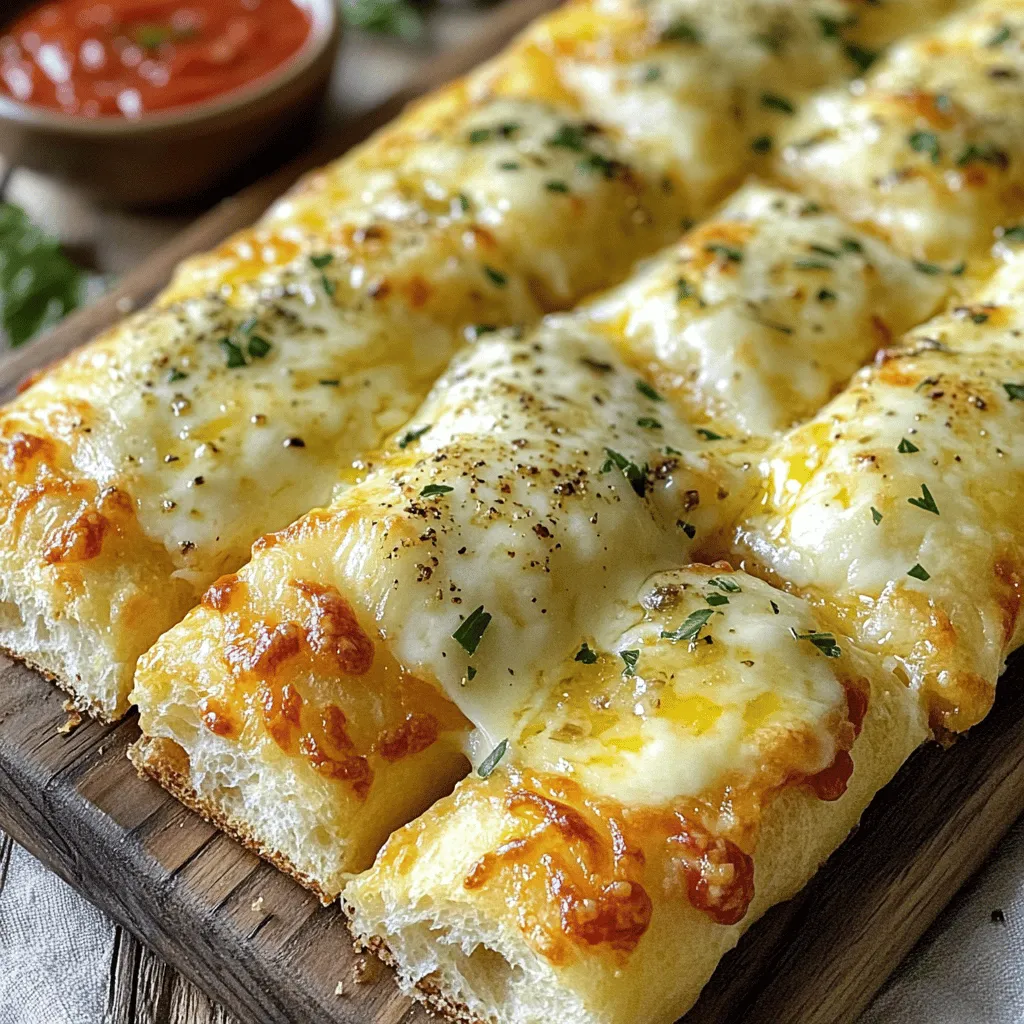
Now it’s time to bake! Preheat your oven to 425°F (220°C). Once the dough has risen, gently punch it down to let air out. Roll it out on a floured surface into a rectangle. Make it about ½ inch thick. Carefully move the rolled dough onto a baking sheet lined with parchment paper. In a small bowl, mix 3 cloves of finely minced garlic with the remaining olive oil. Brush this garlic oil over the dough, leaving a small border around the edges. Sprinkle 1 cup of shredded mozzarella and ½ cup of grated Parmesan cheese on top. For extra flavor, mix 2 tablespoons of chopped parsley, 1 teaspoon of Italian seasoning, and optional red pepper flakes. Sprinkle this mix over the cheese. Bake for 15-20 minutes or until golden and bubbly.
For the full recipe, check the instructions in the earlier section. Enjoy your cheesy garlic breadsticks!
Tips & Tricks
Achieving the Perfect Texture
To get the best texture, kneading is key. Knead the dough for about 5-7 minutes. This helps it become smooth and elastic. You want the dough to feel soft but not sticky. If it sticks to your hands, add a little flour. The right consistency is crucial for chewy breadsticks.
Flavor Enhancements
Want to boost the garlic flavor? Try using roasted garlic instead of raw. Roasting garlic makes it sweet and creamy. For cheese, mozzarella is great, but you can mix it up! Try adding cheddar or gouda for extra flavor. Each cheese brings a unique taste to the breadsticks.
Serving Suggestions
Pair your breadsticks with marinara sauce for dipping. You can also use ranch or garlic butter. For a beautiful presentation, arrange them on a wooden board. Sprinkle some fresh parsley on top for color. This makes them look even more appetizing. Enjoy your cheesy garlic breadsticks fresh out of the oven!
Variations
Cheese Variations
You can use many types of cheese for your breadsticks. Mozzarella is a classic choice, offering great meltability. If you want a sharper taste, try aged cheddar or gouda. For a creamier texture, use fontina. You can also mix cheeses for a unique flavor. Looking for vegan options? Vegan mozzarella works well, and cashew cheese adds a nice touch too.
Spice Variations
Want to add some heat? Sprinkle red pepper flakes on top before baking. This gives your breadsticks a mild kick. You can also experiment with herbs. Try adding oregano or thyme for extra flavor. Fresh basil can also brighten the taste, making your breadsticks more aromatic.
Pumpkin or Sweet Variations
For a fun twist, make pumpkin garlic breadsticks. Add pureed pumpkin to your dough for a seasonal flavor. This option is perfect for fall gatherings. If you want something sweet, try a dessert version. Use cinnamon and sugar on the dough before baking. Drizzle with icing once baked for a tasty treat. If you want the full recipe, check out the details above.
Storage Info
Storing Leftovers
To keep your cheesy garlic breadsticks fresh, store them in an airtight container. This method helps prevent them from drying out. If you don’t have an airtight container, you can wrap them tightly in plastic wrap. Make sure to keep them in the fridge. This way, they’ll stay good for about three days.
Reheating Options
When you want to enjoy your leftover breadsticks, the best method is to use an oven. Preheat the oven to 350°F (175°C). Place the breadsticks on a baking sheet and cover them with aluminum foil. Heat them for about 10 minutes. This keeps them soft and warm. If you prefer a crispy texture, remove the foil for the last few minutes.
Freezing for Later
Freezing your baked breadsticks is easy. Allow them to cool completely first. Then, wrap each breadstick in plastic wrap or aluminum foil. Place them in a freezer-safe bag. Label the bag with the date. When you’re ready to eat them, take them out and thaw at room temperature. You can also reheat them in the oven as mentioned above. This way, they taste fresh and delicious!
FAQs
Can I use whole wheat flour?
Yes, you can use whole wheat flour. It changes the flavor and texture. Your breadsticks will be denser and nutty. Use the same amount of whole wheat flour. If the dough feels too dry, add a little more water.
How can I make them gluten-free?
To make gluten-free breadsticks, use a gluten-free flour blend. Look for blends made for baking. Check the packaging for the right amount to use. This will help keep the dough from being too crumbly or dry.
What to do if the dough is too sticky?
If the dough is sticky, add a bit more flour. Do this slowly, one tablespoon at a time. Knead the dough after each addition. This helps you get a smooth and elastic dough.
How long do leftovers last in the fridge?
Leftovers can last about 3 to 5 days in the fridge. Store them in an airtight container. This keeps them fresh and prevents them from drying out.
Can I make cheesy garlic breadsticks ahead of time?
Yes, you can make them ahead. Prepare the dough and let it rise. Then, shape the breadsticks and place them on a baking sheet. Cover and refrigerate. Bake them fresh when you are ready to eat! You can also freeze them for later use.
You now have a complete recipe for tasty garlic breadsticks. With simple ingredients and steps, you’re ready to impress. Remember the key points: knead well for the right texture and experiment with flavors. Don’t hesitate to try different cheeses and spices to find your favorite. Store extras properly, so they stay fresh. Enjoy making and sharing these breadsticks with friends and family. It’s fun to bake, and even better to eat!

