Indulge your sweet tooth with this easy Chocolate Lava Cake recipe! I’ll show you how to create a rich, gooey dessert that flows with chocolate goodness. Whether you’re a beginner or a seasoned baker, my step-by-step guide will help you master this treat. From choosing the right ingredients to perfecting your baking time, you’ll find all the tips you need. Ready to impress your friends and family? Let’s dive in!
Ingredients
List of Necessary Ingredients
To create a mouthwatering chocolate lava cake, gather these ingredients:
– ½ cup unsalted butter (plus extra for greasing)
– 1 cup semi-sweet chocolate chips
– 2 large eggs
– 2 large egg yolks
– ½ cup granulated sugar
– ¼ cup all-purpose flour
– ¼ teaspoon salt
– 1 teaspoon vanilla extract
– Powdered sugar (for dusting)
– Optional: Fresh berries and whipped cream for serving
Ingredient Functionality
The butter and chocolate play a key role in the molten center. They melt together, creating a rich, gooey filling. The heat of the oven cooks the outer layer, while the inside stays soft and liquid.
Eggs are crucial for texture and structure. They help the cake rise and hold its shape. The whites add lift, while the yolks keep it moist. This combination gives the cake its special softness.
Ingredient Substitutions
If you need gluten-free or dairy-free options, you can make simple swaps. Use gluten-free flour instead of all-purpose flour. For a dairy-free version, swap butter with coconut oil and use dairy-free chocolate.
Choosing high-quality chocolate is vital. Look for chocolate with at least 60% cocoa solids for rich flavor. Higher quality chocolate makes a noticeable difference in taste.
Step-by-Step Instructions
Prepping the Ramekins
Start by greasing your ramekins with unsalted butter. Use a paper towel to spread it evenly. This step helps the cakes slide out easily after baking. After greasing, dust a little flour inside each ramekin. Shake out the excess flour. This extra step prevents sticking and ensures a clean release.
Next, preheat your oven to 425°F (220°C). Preheating is very important. It helps the cakes bake evenly. If your oven is not hot enough, the cakes may not rise correctly.
Combining Ingredients
For the batter, melt the butter and semi-sweet chocolate chips together. Place them in a microwave-safe bowl. Heat this mixture in the microwave for 30 seconds at a time. Stir well after each interval. This method helps avoid burning. Once melted, let it cool for a few minutes.
While the chocolate cools, whisk the eggs, egg yolks, and granulated sugar in a mixing bowl. Use a hand whisk or electric mixer. Whisk for 2-3 minutes. You want the mixture to turn pale and frothy. This step adds air and helps your cakes rise.
Now, pour the cooled chocolate into the egg mixture. Stir gently until combined. Next, fold in the flour, salt, and vanilla extract. Mix just until combined. Avoid overmixing to keep the texture light.
Baking the Lava Cakes
Now it’s time to bake! Spoon the batter into the prepared ramekins. Fill each one about three-quarters full. This gives them room to rise without spilling over.
Place the ramekins on a baking sheet for easy handling. Bake in your preheated oven for 12-14 minutes. The edges should be firm, while the center remains soft. To check for doneness, look for a slight jiggle in the center.
Once baked, take them out and let them sit for 1 minute. To loosen the cakes, run a butter knife around the edges. Then, invert each ramekin onto a plate. Tap gently to release the cakes. Your chocolate lava cakes are now ready to enjoy!
For the full recipe, check the earlier section.
Tips & Tricks
Achieving the Perfect Molten Center
To get that perfect gooey center, follow these simple tips. First, avoid overbaking your cakes. Bake them for 12 to 14 minutes. The edges should be firm, and the center must jiggle slightly. If you bake too long, the center will cook through.
Timing is key. Set a timer and check your cakes a minute or two before the end. This way, you can catch them at just the right moment. Remember, every oven is different, so adjust as needed.
Presentation Techniques
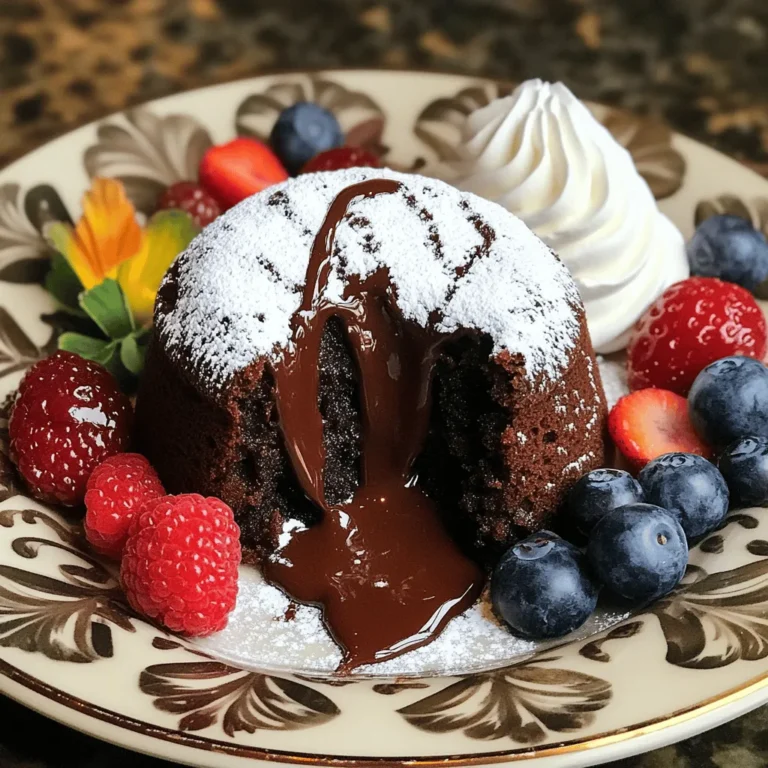
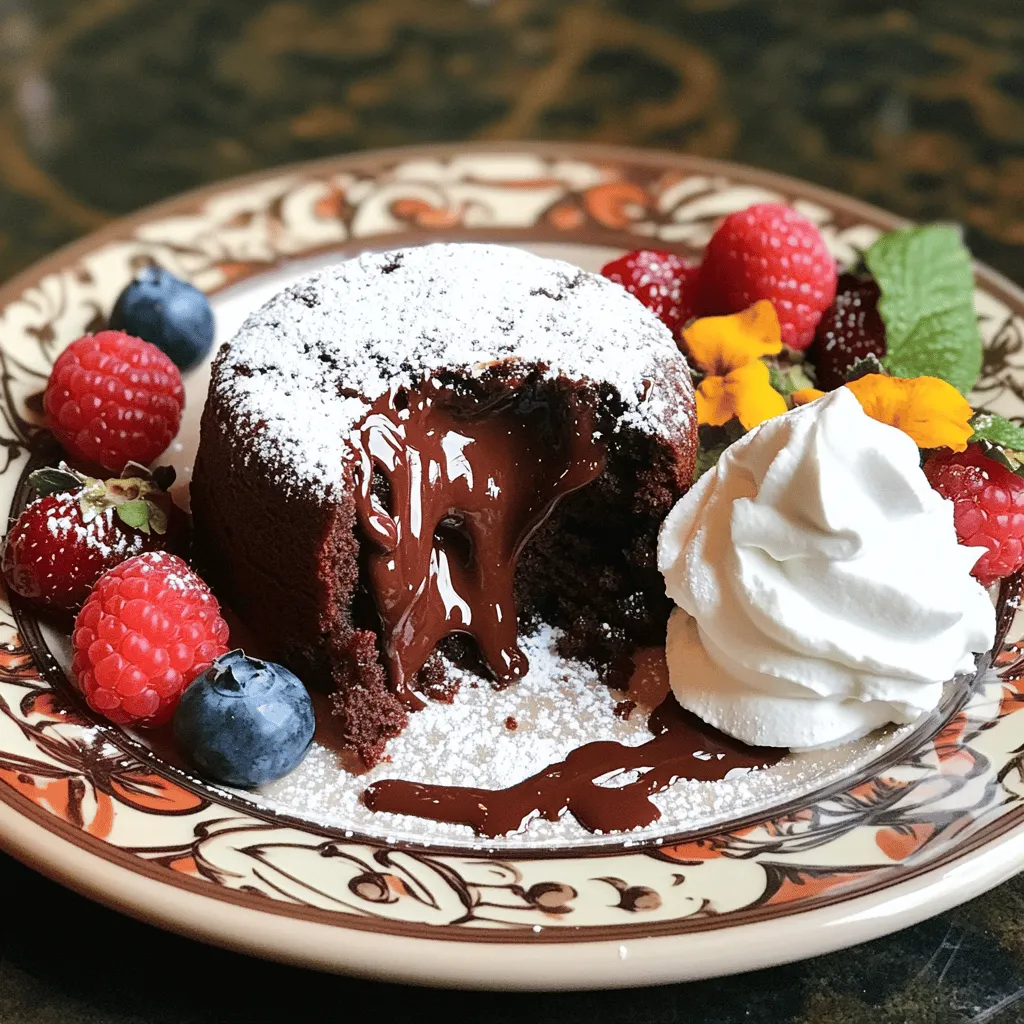
Making your lava cakes look great is easy and fun. After you bake and invert them, dust the tops with powdered sugar. This gives a lovely finish. You can also add fresh berries on the side for color.
Try serving with a dollop of whipped cream. It adds a creamy touch. For an extra special treat, drizzle chocolate sauce around the plate. This makes your dessert look even more inviting.
Troubleshooting Common Issues
Sometimes, things don’t go as planned. If your cakes are overbaked, they won’t have the gooey center. If they are underbaked, they may collapse. For overbaked cakes, consider serving them with ice cream to add moisture.
For underbaked cakes, you can pop them back in the oven for a minute. If you spill batter when filling ramekins, don’t worry! Just wipe the edges with a paper towel before baking. This helps them look neat when served.
For the full recipe, check the earlier section. Happy baking!
Variations
Flavor Variations
You can play with chocolate types in your lava cake. Use dark chocolate for a rich taste. White chocolate gives a creamy twist. You might also try flavored chocolates like raspberry or orange. To add depth, mix in spices like cinnamon or a dash of espresso. Vanilla extract enhances sweetness, while peppermint extract adds a festive touch.
Dietary Adaptations
Vegan options are easy with a few swaps. Use applesauce or a flaxseed mix instead of eggs. For keto diets, substitute regular sugar with a keto-friendly sweetener. Almond flour works well in place of all-purpose flour, but check for nut allergies. Always read labels when choosing ingredients to keep everyone safe.
Serving Style Variations
Mini lava cakes are fun and cute. Use muffin tins for smaller portions. They bake faster, so keep an eye on them! You can also serve lava cakes as sundaes. Top with ice cream, chocolate sauce, and fresh fruit for a tasty treat. For a fancy touch, add whipped cream and sprinkle with nuts or sprigs of mint.
Storage Info
Storing Leftover Lava Cakes
Store leftover lava cakes in an airtight container. This keeps them fresh. For short-term storage, put them in the fridge. They last about two days. For long-term storage, wrap them tightly and freeze. To reheat, use the oven. Set it to 350°F (175°C) and heat for about 10 minutes. This method warms them without overcooking.
Freezing Instructions
You can freeze both unbaked and baked lava cakes. For unbaked cakes, fill the ramekins and cover them tightly with plastic wrap. Freeze until solid. For baked cakes, let them cool completely before wrapping. To defrost, move them to the fridge overnight. Then, bake frozen unbaked cakes directly from the freezer. Bake them for an extra minute or two to ensure the center is molten.
Shelf Life
In the fridge, lava cakes stay fresh for about two days. If they smell off or have a dry texture, they may be spoiled. Look for any signs of mold or odd colors. If you see any of these, it’s best to toss them. Enjoy the deliciousness while it lasts! For the full recipe, refer to the beginning of the article.
FAQs
How do I make sure my chocolate lava cake doesn’t stick to the ramekin?
To prevent sticking, start by generously greasing each ramekin with unsalted butter. Use a pastry brush or paper towel to cover every surface. This gives your cake a smooth release. Next, dust the greased ramekins with flour. Tilt each ramekin to coat the sides evenly, then tap out the excess flour. This method creates a non-stick barrier, ensuring your lava cake comes out perfectly every time.
What is the ideal temperature for serving chocolate lava cake?
Serve chocolate lava cake warm for the best experience. The center should be gooey and rich, while the outer layer is firm. The perfect serving temperature is around 120°F (49°C). This warmth enhances the chocolate flavor. You can use a food thermometer to check. If you don’t have one, let the cakes cool for about one minute after baking, then serve right away.
Can I prepare the batter in advance?
Yes, you can prepare the batter ahead of time. Make the batter and store it in the fridge for up to 24 hours. When ready to bake, just pour the chilled batter into the greased ramekins. You may need to add an extra minute or two to the baking time if the batter is cold. This method saves time and lets you enjoy a fresh dessert with minimal effort. For the full recipe, check the recipe section.
In summary, we explored the key ingredients and steps to create delicious lava cakes. You learned about the roles of butter, chocolate, and eggs, along with alternatives for dietary needs. We broke down the process for prepping ramekins and baking times to ensure a perfect molten center. Plus, we shared tips for storage and creative serving ideas. Remember, practice makes perfect, and experimenting can lead to exciting variations. Enjoy your baking journey!

